Tuesday, August 4, 2015

Creative Card Crew DT Project - #93 Sparkle!

A little paper, embossing powder, transparency, double sided adhesive, glitter, and alcohol markers... the result, a stunning stained glass card perfect for any occasion.

This fortnight challenge over at Creative Card Crew is Sparkle! What sparkles more than a beautiful stained glass window? When I saw this image from Sparkle N Sprinkle, I knew I had to figure out a way to make it into just that. 


I explain below how this I achieved this look.


#93 - Sparkle! - glitter or anything that sparkles 

Sponsored by

http://sparklensprinkle.com/

Prize: Up to $15 in digi's


I began by importing the digital image into my Silhouette Cameo Design Studio. I traced the outline to create the cut lines. I then copied this 4 times.


Using the Print and Cut feature on the Silhouette, I cut all 4 images. Even though the are very delicate, I had no problems at all. I just had to be patient when removing them.


Using my Zig Roller Ball Glue Pen, I carefully glued three if the die cut images together. I then coated this with Versamark ink and embossed it several times using black embossing powder. I wanted this to mimic the leading between the glass, so I made sure it was very thick.


I took a piece of clear transparency and added a piece of Aleen's Double sided adhesive to the transparency. After removing all protective sheets on the adhesive, I added the "enameled" die cut piece embossing side up. I covered the remaining adhesive with Martha Stewart's Superfine Crystal Glitter.

I used my Bic Marker to carefully color the glitter, using a stippling motion. I found if I colored in the regular fashion, the glitter tended to pull up and stick to the marker tip. 

To cover any clear areas I may have missed on the glitter side of the piece, I flipped it over and colored the back of the transparency sheet with each color.


Once the marker was dry, I turned the piece back over and filled each "glass" cavity with Glossy Accents. I figured this would take all night to dry, but I set it aside and by the time I had the rest of the card ready, it was dry.

I colored the back of the one remaining die cut black using my black Bic Marker and adhered it to the back side of the piece to give it a more finished look on.

I cut a 5 1/2 x 11 card base out of black. I folded it to make a 5 1/2 card. Using my Spellbinders dies, I cut a circle out of black card base and a piece of white 5 x 5 card base. I sandwiched the "stained" glass piece between these pieces using black foam squares.

The sentiment if from Simon Says Stamp's Flowers on My Mind stamp set. I embossed it using Versafine Onyx Black and Ala Mode Clear Glitter embossing powder. 

Using an MFT die set, I die cut all the layers, assembled them and popped this up on the card.


This card turned out much better than I envisioned. I love how it looks when the light shines through the back of the front panel. I love it so much, I may make a few of these using other thick lined images. These would also look very pretty hanging in a window with the sunlight shining through. 


I had a ton of fun making this card. I hope you join us for the Sparkle! challenge over at Creative Card Crew. If you have any questions, please leave me a comment and I will answer this as best I can. 

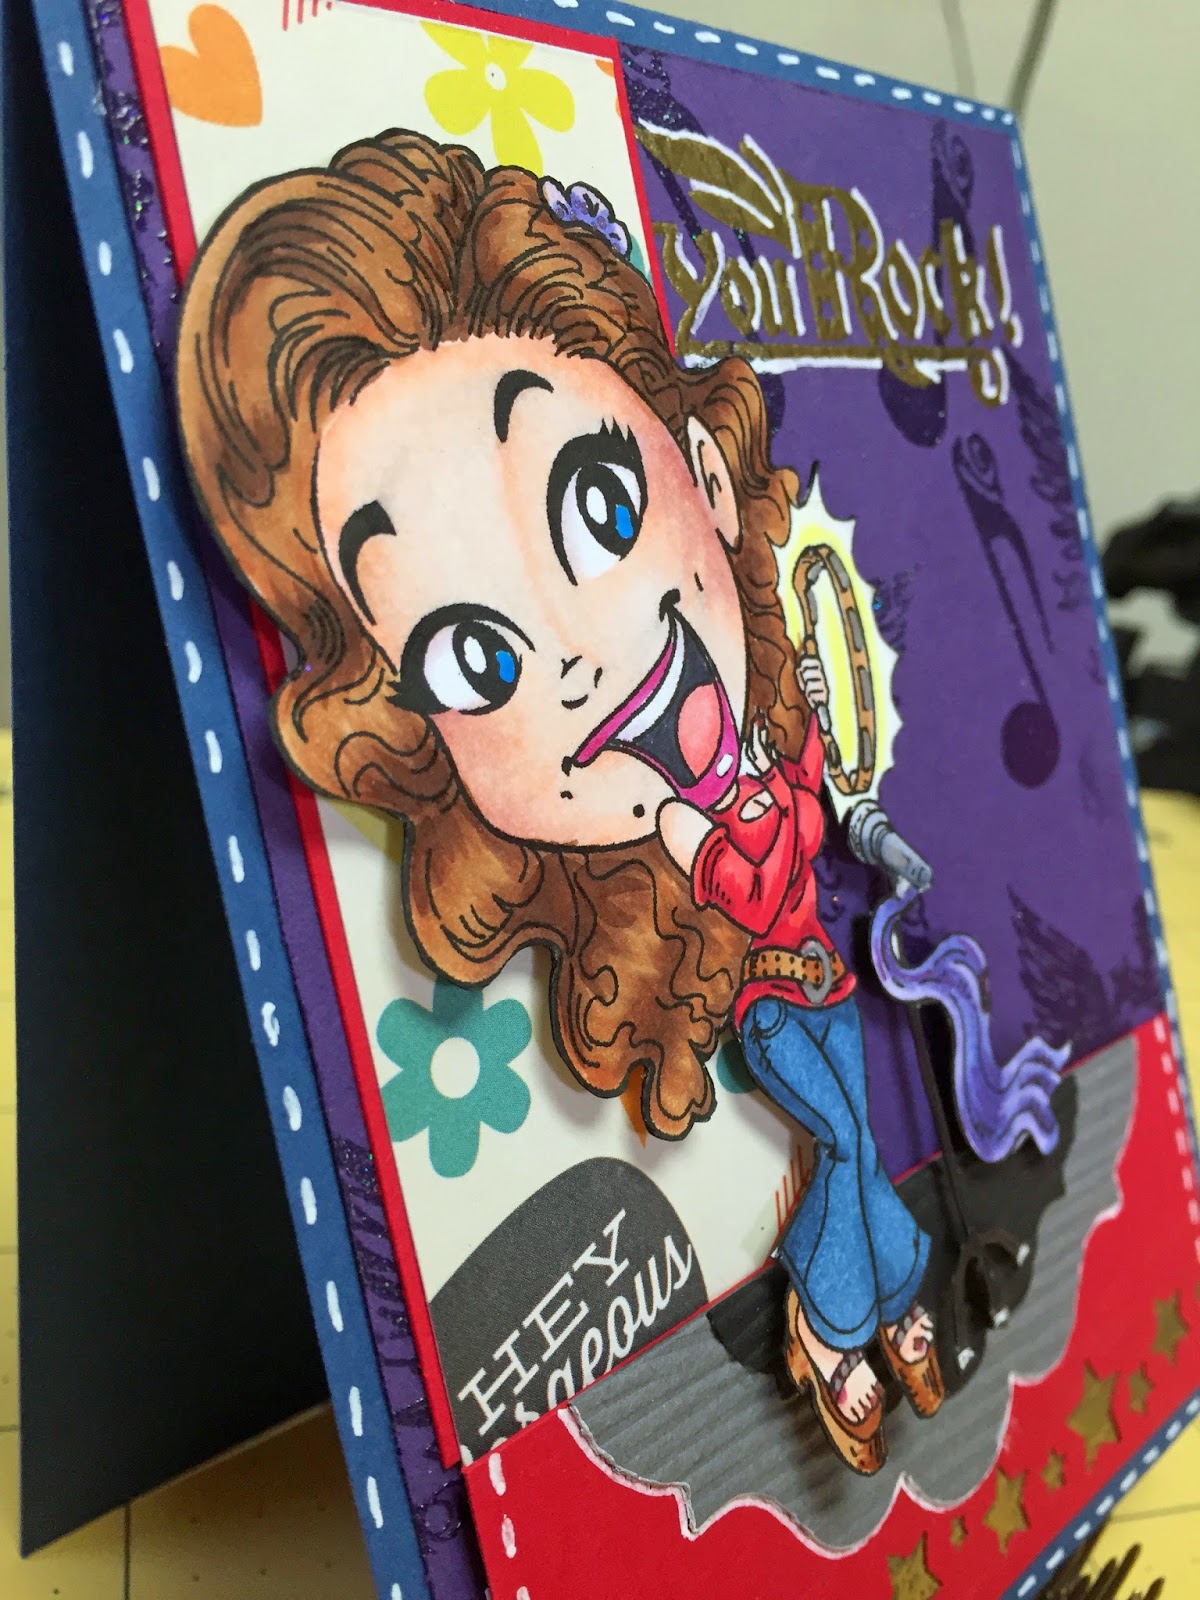
*Not a process video, just a close-up share.*


Have a great day and happy crafting.
Dana

Monday, July 27, 2015

Craft Room Update-Video

First, I apologize for the wobbly video. It gets better after the first few seconds. I'm still learning.

I promised a video update over a year ago when I moved to my craft room in the basement. I finally made one.

WARNING Disaster Area Ahead


Thanks for watching and happy crafting,
Dana

Tuesday, July 21, 2015

Creative Card Crew DT Project Video

Today, I filmed my first process video. I'm slowly getting up the courage to share my work. The video isn't the best, I had a bit of trouble "finding" the camera, especially when I'm showing things up close. Still, not too bad for my first. 

So, my DT submission at Creative Card Crew a A2, top-folding card.

Here is a picture of the finished card. 

As you will see, I added the banners after I made the video. I got so into filming, I forgot the theme of this week's challenge. LOL

The sponsor for challenge #92 Banners/Flags is


A Day for Daisies.

Prize: $12 gift voucher


Now for the video,  (My channel: https://www.youtube.com/user/Time2FlyAway/videos)

I used the Fairy Hello digital image. I printed it on Copic X-Press It Blending Card and colored it using Copic markers. 


The rest of the papers are from the July 2015 Card Kit. The flower is from Michael's and the ribbon is from my stash.

I am planning to make more process videos. I learned a lot making this one. With practice, I'm hoping they get better. If you are a YouTuber, I'm in the market for an inexpensive camera to shoot my videos. I used my iPhone for this one, but I would like to have a camera I can leave in my craftroom. 

I guess, that's about it. Please leave a comment giving me suggestions on how to improve on my next video.

Until then, thanks for stopping by,
Dana

Monday, July 20, 2015

Mini Album - All About a Boy

Mini album share #2 is made using the All About a Boy collection from Echo Park. The page design is from Laura Dennison's Turn the Page 2014 pattern set.

Everything is from the collection, except the cardstock which is Stampin' Up.


Thanks for watching.
Dana

Sunday, July 19, 2015

Mini Album-Seashore by Prima #lovesummerart

My first YouTube share for the #lovesummerart collaboration. I have one more to share, but I underestimated the processing time of the videos, so it will be tomorrow or later before it is up.

In the meantime, enjoy. This album is for sale, email me if you are interested.


Thanks for watching,
Dana

Tuesday, July 7, 2015

Creative Card Crew Challenge 91 Die Cutting

The next challenge at Creative Card Crew is Die Cutting. I own quite a few dies, but for some reason I rarely use them. I used a combination of die sets to create this card. The image is from Morgan Fitzsimons at Morgan's Artworld. I love her designs, especially her portrait images. This digital stamp is called Ragamuffin Kids.


Sponsored by
Prize 3 Digi Images

I used several different mediums for this image. I began by printing the image on heavy weight cardstock. I began by coloring her skin with Copic markers in E0000, E000, and E01.


I then switched to my Zig Kuretake Gansai Tambi watercolors. I painted the rest of the image using this set. Once this was dry, I used the Sakura Gelly Roll pens in metallic, and white to add a bit of dimension to the flowers. I die cut the image and the background yellow piece using Spellbinders Ovals dies and the purple piece using Spellbinders Lacey Ovals.

I then die cut the background layers using MFT Blueprints 1 and 11. I wrapped this with white satin ribbon from my stash. I popped the oval image up on the card with foam tape.


I found this flower in my stash. I made it several years ago using my Silhouette Cameo. It had a blue center, but I removed the brad and replaced it with pink to match the rest of the card.


I wanted to use my Wink of Stella Clear Glitter Pen to add shimmer to the flowers, but it was completely empty. Guess I need another one. Other than that, I was pleased with the card overall. My water coloring skills could use a bit of practice, but it turned out pretty nice.

I hope to see your creations over at our Creative Card Crews challenge blog. Until then, thanks for stopping by and happy crafting.

Dana

Wednesday, June 24, 2015

Creative Card Crew Challenge 90 - Clean and Simple (CAS)


Even though this Creative Card Crew challenge is a CAS challenge, it was probably one of the more difficult for me to tackle. I wanted so much to add layers of patterned paper and embellishments, but I stuck with a simple colored image from the Floral Tea Set digi set from Imagine That!
I decided to step away from my Copic markers and try my hand at colored pencils. I'm not sure I achieved the look I was going for, but I don't think it is too bad for my first attempt.


I layered the image panel on a piece of DCWV pink glitter paper and then popped that panel up on a piece of Basic Grey cardstock from Stampin' Up. 

That's it, clean and simple. Now for your chance to participate and possibly win some free digital images of your own.


This challenge is sponsored by the fabulous Kris of Imagine That! Go there to see lots of cuteness!

Sponsored by:
Imagine That!
Picture

Prize: 3 Digi's

I want to add a little note to say I will be posting tons of mini album and cards for sale in the "For Sale" section of this blog. I'm also moving my craft room (just can't make my current space work) to a smaller room in my main living area. So I will also be posting some destash items there as well. Keep you eye out for some crafty goodness.

Thanks for stopping by and happy crafting,
Dana

Tuesday, June 9, 2015

Creative Card Crew Challenge #89 White on White

Our next challenge over at Creative Card Crew is White on White. You can use only white with no image or have the image be the only color on the card. I chose the latter.


The White on White Challenge is Sponsored by,


I began by printing this beautiful Sabrina image by Saturated Canary on Copic X-Press It Blending Card. I colored the image using Copic Markers. Since the image only had a couple of dots for the nose, I tried a new technique that indicates the bridge of the nose with the light coming from in front of the image. I even impressed my self, it wasn't as hard as it looks. I really like the results.


I embossed the base card using a Cuttlebug folder that has clean strips. I cannot find the name of the folder anywhere. If I do, I will link it below.


I die cut the image using Spellbinders Twenty. I used various dies to cut all of the other components (see supplies list below).


I used the flower dies from MFT's Blueprints 5 to cut multiple flowers. I stacked them and added a pearl brad from The Paper Studio. 


Honestly, I was a bit intimidated by this challenge. I've never attempted a one color card. These types of cards rely on texture to make them pop. I'm not sure if my first attempt was the best, but I love it.

Please join us for the White on White challenge over at Creative Card Crew. Until then, thanks for stopping by and happy crafting.

Dana Desmond

Products List

Tuesday, May 26, 2015

Creative Card Crew Challege #88 Teen

Creative Card Crew challenge #88 is a teen theme. At first this challenge threw me. I had no idea what to do for a Teen project. It seems all my teen does is text, listen to music, and play video games.

Then I ran across the ElenaK digi image and decided this is perfect; heavens knows my son would give anything to be a Rockstar.


Our Challenge Sponsor
Kenny K Downloads


Prize: 3 Digi's


I began by printing the image and coloring her with Copic markers and adding accents with my Sakura Gelly Roll pens. I fussy cut the image and set it aside while I assembled the rest of the card.


I used patterned paper from the Hey Kid paper stack by Pink Paislee. For the background, I used Ranger's Clear and Gold Embossing Powder and the Rockstar stamp set from Inkadinkado. I highlighted the sentiment with my Signo Uni-ball gel pen.


I used a EK Success punch and backed the open spaces with Scor-pal tape. I filled the star-shaped holes with gold embossing powder and heated it to create an "enamel" feel to the "stage."

I adhered all of the paper components to a purple card base and popped the image p off of the "stage." I finished the card off by adding faux stitching with my Signo Uni-ball white gel pen.

I look forward to seeing your interpretation of the Teen challenge. Thanks for stopping by and happy crafting.

Dana Desmond


Wednesday, May 20, 2015

Good Day, Designer Collaboration at Pixel Scrapper

Today is one of the most fun at Pixel Scrapper--COLLABORATION DAY--!! Collaborations are when all designers create kits that all collaborate together, using the same theme and color palette. You get slightly varied styles that all work together. I have created several very different layouts using elements from the Good Day Collaboration Bundle.

The first one uses mostly elements from Marisa Lerin's portion of the collaboration. It is very bright, but uses a limited color palette of mostly yellow and pink. The open flowers remind me of crocheted doily centers. I think they work very well with the pictures.


The next layout mostly consists of elements from Melo Vrijhof''s kits in the collaboration. Her style for this kit is more free-flowing watercolor images, with many different colors. I love the 4-square watercolor block background. Kelli's dress in the picture is completely covered in sequins and when the light hits it, rainbow spots of light reflect on every surface around her. So I wanted to being that though together using all of the rainbow papers. The gray border paper from the kit just keeps the focus on the photos and bright colors without letting your eye wander around the page and get lost.


These layouts feature only two of the many talented digital artists who participated in the collaboration. As you can see below the bundle if loaded with every type of  scrapbooking element you could ever want. 


I love this kit so much, I'm going to being working on a hybrid project for it, similar to the mini album project using Already There that I posted yesterday. I will do my best to make sure the video quality is much better this time. (I was going to promise and decided maybe that is a bit too strong. I'm not that confident in recording skills yet.)

If you want to be able to play with these wonderful images, head over to Pixel Scrapper. You will definitely have a blast finding fun ways to use them.

Keep coming back to find more projects made with this awesome collaboration. Until then, thanks for stopping by and happy crafting,

Dana Desmond

Monday, May 18, 2015

Hybrid Mini Album using Already There Digi Kit


I made this mini album using the Already There digital kit by Violet Irisonva. This kit can be found at Pixel Scrapper. As you can see it has tons of inspirational quotes and lots of real estate for photos, journaling, and memorabilia.


First, I apologize for the poor video and sound quality. I'm still learning, so it will get better. I still wanted to share my latest project.


All the papers and elements of this kit are separate digital files. I first created the base pages (the ones that say, "Place Photo Here") in Photoshop Elements 10. I printed them on my Epson Workforce 7520 on heavy cardstock.

I used my Silhouette Cameo to print and cut the other loose elements I show you at the beginning of the video. I embellished each page a bit more with the loose die cut pieces.

I made pocket pages out of the 4 x 6 journal cards that come in the kit. All of the tags were created using the leftover papers I had printed.

One of the best parts about using a digi kit to make physical projects is that you never run out of a design or element you like. You also get to choose what type of paper it is printed on. I printed this on heavy cardstock, but when I decoupage, I use regular copy paper. So digi's are perfect for any application.

I have tons more mini albums made using traditional scrapbook paper that I will be sharing in future videos. I might even talk in them.

If you like anything you see, let me know. I make custom albums of all sizes as well.

Thanks for stopping by and happy crafting,
Dana Desmond

Tuesday, May 12, 2015

Creative Card Crew Challenge # 87 Embossing

This fortnight challenge over at Creative Card Crew is to create a paper project using embossing.

I used the Berry Sundae image set from Sparkle N Sprinkle for my card.


#87 Embossing - Wet or Dry

Our sponsor for this challenges is 

Prize: Up to $15 in Digi's


I began by printing the image and sentiment on a piece of Simon Says Stamp #120 cardstock and colored it with Copic markers. This digi set has many sentiments that work perfectly with this image.I then used my Signo Uni-ball white gel pen to add highlights to the image. 

Using an old paint brush, I lightly coated the "glass" portions of the image with Diamond Stickles.
Since the Stickles was a thin layer, it dried very quickly, allowing me to add a coat of Glossy Accents over the area.


Using a Spellbinders die, I cut the image piece, a brown mat layer, and a cream piece of index cardstock. I dry embossed the index layer using the Swirls embossing folder from Cuttlebug. I thought this pattern coordinated well with the swirl of the pudding.

I then embossed a Lavender Moon piece of cardstock from Papertrey Ink, using the Swiss Dots embossing folder, also by Cuttlebug. I wet embossed the edges of a piece of white cardstock using 1/4" Scor-pal tape and Rangesr's Enchanted Gold embossing power. The creamy color of the embossing folder coordinates well with the creamy color of the pudding and it adds a bit more sparkle to the card. 

I added the the Lavender Moon panel to a black cardstock based. I popped the focal image up on foam tape and finished the card off by adding faux stitching with my Sakura Sepia Metallic Gelly Roll Pen.

Please join us over at Creative Card Crew. Your project does not have to be a card, just a paper craft. I look forward to seeing what you create.

Thanks for stopping by and happy crafting.
Dana Desmond

Thursday, May 7, 2015

Brought to you by the letter "Nn" for Jellyfishing...

Like yesterday's layout, this one was also created using the Shine digital bundle by Sheila Reid. This bundle can be found at Pixel Scrapper. Yesterday I used this bundle for a birthday layout, the soft colors and the beautiful images were perfect for a very feminine layout.

Today's layout is a bit more beachy. I wanted to capture this awesome moment between my daughter and her boyfriend's son. Jacob is new to us and the only child in our immediate family. So, that means everything he does is adorable. This little boy has filled my heart with love faster than I ever though possible.


Jacob crawls in bed with Kelli wanting to do his flash cards. He is going along, doing very well naming the pictures and Kelli is helping him with his letter sounds. They get to the letter N and Jacob proudly announces the picture is “Jellyfishing!” I’m guessing he has been watching a bit too much Spongebob. Oh, the glimpse of a child’s world.

As I mentioned yesterday, this kit is very versatile; that is what I like best about digital kits. You can make them work for so many different applications.I urge you to head over and check out this bundle and all the other digital goodness available at Pixel Scrapper.


Thanks for stopping by and happy crafting,
 Dana Desmond

Wednesday, May 6, 2015

60th Birthday Surprise Party Digital Layout

My layout today was created using the Shine digital bundle by Sheila Reid. This bundle can be found at Pixel Scrapper. Even though I have used this bundle for a birthday layout, the soft colors and the beautiful images definitely have potential for all kinds of spring or baby layouts. The word art in the kit is absolutely inspiring.

Mom thought she was going to a 40th birthday party for my cousin Andy. When she got there, we told her the bakery had messed up the cake and that is was so bad she had to look at it. She got halfway across the room before she saw the “60” on the cake.

I urge you to head over and check out this bundle and all the other digital goodness available at Pixel Scrapper.


Tuesday, April 28, 2015

86 Fancy Folds

For design project for Creative Card Crew's Fancy Fold challenge, I made a side-step card using the image Mother Moon from A DAY FOR DAISIES digital stamp shop


Our sponsor for this challenge is:
Prize: #12 Gift Voucher

Our challenge for this fortnight is Fancy Folds. My very favorite challenge to view.

We hope that you will join us in designing some amazing projects/cards.


For my design, I started out by coloring the image using Copic markers. 


I fussy cut the image and set it aside to work on my background. The gray paper is from Bo Bunny's Altitude collection. It is actually a winter paper, but I just love how it looks like a night sky with twinkling stars.


I cut cut the side-step card base using Papertrey Ink cardstock. I matted each section with the Bo Bunny paper. I the metal filigree is from Butter Bee Scraps. I backed that piece with DCWV glitter paper. I added a star and rhinestone from my stash. I adhered that to the front of the first panel.


I used a frame sticker from The Paper Studio and backed it with the same DCWV glitter paper. I popped up this metal charm, also from The Paper Studio, in the center of the frame. I adhered all of this to the back panel. 

I popped my colored image up on the main panel and finished the card by adhering more stars and small gems throughout the starry sky.

Thanks for stopping by and please join us over at Creative Card Crew.

Dana Desmond

Friday, April 17, 2015

A College Graduate

After 8 years, I finally finished. 


This page was made using the Reflections Mini Kit by Sheila Reid. This kit can be found on Pixel Scrapper website. 


Thank you for stopping by. Happy Crafting.

Dana Desmond

Thursday, April 16, 2015

Creative Card Crew Challenge #85 Use a Sentiment


I am happy to present my design team project for our next challenge with Creative Card Crew. The image and sentiment are from Image That! by Kris, Wedding Day collection. This digital set comes with several images and sentiments. 

Our challenge for this fortnight is to use a sentiment on your project!

Imagine That!

Prize: 3 Digis


For my card, I colored the image using Copic markers.


I used a C-1 Copic to give the work "Love" a shadow so it would standout from the rest of the sentiment.


I layered the image panel on DCWV Glitter Paper in red. Punched the edge of a Stampin' Up Basic Grey cardstock with a Recollections edge punch. I layered the image piece on the gray cardstock and popped all of this up on a Basic Black cardstock A2 card base. I added roses, rose buds, and leaves from Wild Orchid Craft and my card was finished.

To join in the fun, visit the Creative Card Crew website for details. For now, thank you for stopping by and happy crafting,

Dana Desmond

Tuesday, March 31, 2015

Creative Card Crew Challenge #84 Handmade Flowers


The current challenge for Creative Card Crew is to make a card/project with handmade flowers.

This challenge is sponsored by:


Prize $12 Gift Voucher

Now for my Design Team contribution to this challenge.

I used the Wind in My Hair image for my for my card.


I colored the image using Copic markers. Lately I have been practicing shading and highlighting my images using markers from different color families. The dress uses markers from the BV, V, RV, BG, and G families. Another goal is to get better at coloring pastel images. I this was the perfect project for both.


After the image was colored, I used Sakura Stardust gel pens in rose and pink to add sparkle to the flowers in her dress and the ones blowing around her hair and skirt. I added a few dots with my white gel pen for interest.

I used my new Zig Kuretake Gansai Tambi watercolors to add a background to both the image and the panel under them image. I matted my image on Dark Chocolate cardstock from Papertrey Ink. Added lace from my stash and adhered the layers together, using dimensional adhesive for the image panel.


Know, onto the challenge feature. I wanted to create a simple flower that flowed well with the image, yet would standout. I started with two Hydrangea punches by Martha Stewart. I used an inexpensive 110lb white cardstock for these. I wanted the paper to have tooth, as I planned to watercolor them, but water color paper was too thick.

I used Radiant Rain in Apple Blossom and Periwinkle because they have a beautiful shimmer that I can't really get from just watercolors alone. I watered them down quite a bit to get the perfect shade of pint and purple. I wet my flowers first and then just added drops of Apple Blossom to the edges of each flower, letting it wick to the center. I then added Periwinkle to the centers and let if blend with the Apple Blossom. I was so pleased with the outcome. It is exactly want I wanted.

I shaped each flower using my ball stylus tools, stacked them and added pearls to the centers of each flower. I finished off the clusters with small leaves from Wild Orchid Crafts.

This was such a fun card to make. I really challenged my self to step outside of my comfort zone and I love the results. 

I hope you join in the fun over at Creative Card Crew. You have two weeks to create a project. Hope to see yours there.

Thanks for stopping by and happy crafting,
Dana