Showing posts with label Prima. Show all posts

Sunday, July 19, 2015

Mini Album-Seashore by Prima #lovesummerart

My first YouTube share for the #lovesummerart collaboration. I have one more to share, but I underestimated the processing time of the videos, so it will be tomorrow or later before it is up.

In the meantime, enjoy. This album is for sale, email me if you are interested.


Thanks for watching,
Dana

Monday, August 6, 2012

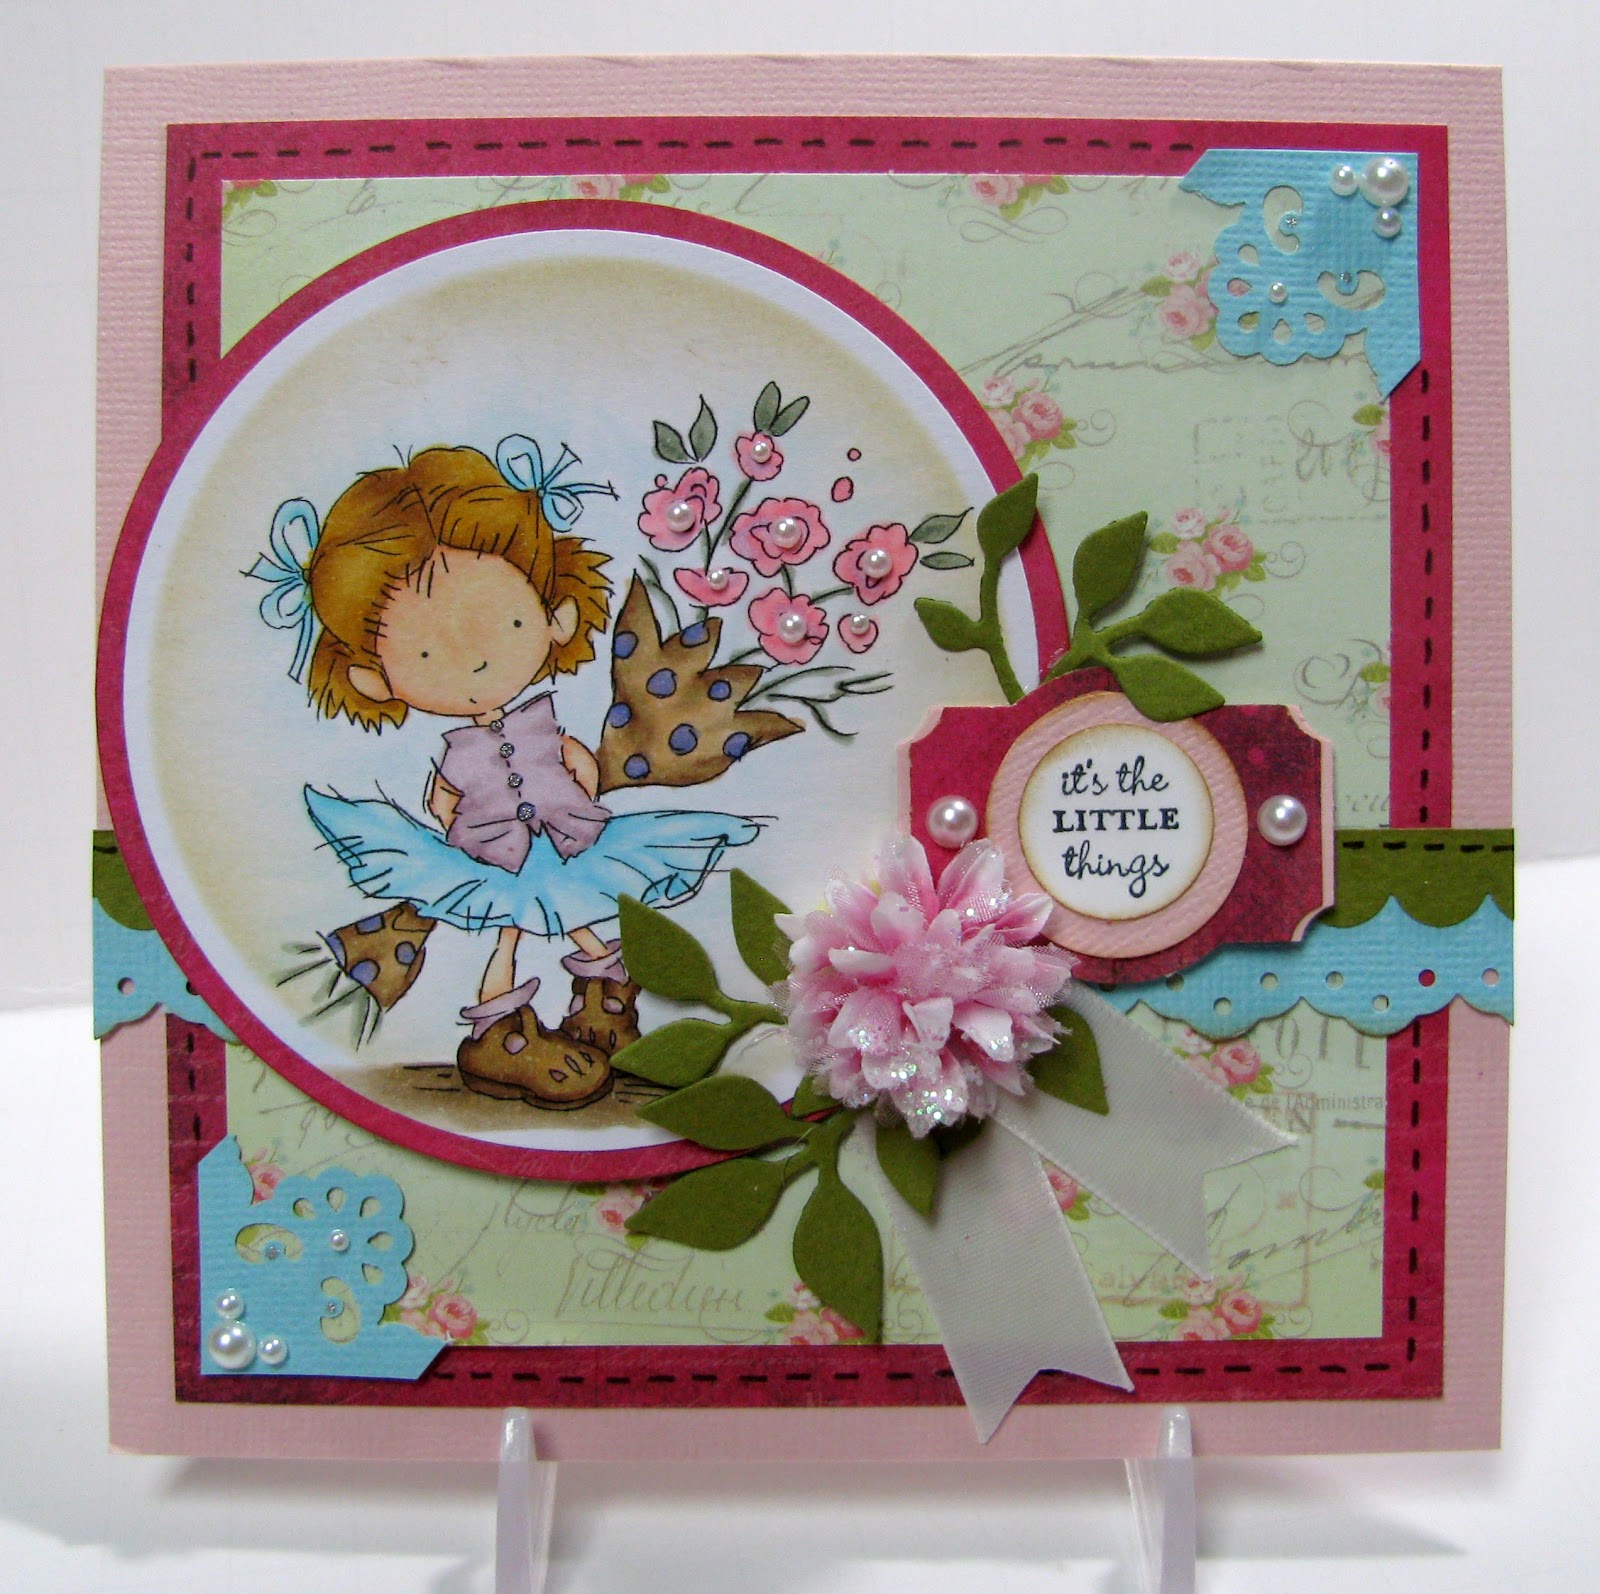
It's the Little Things

UPDATE: I found the original packaging for this image set. It is from Lily of the Valley. There are about 15 cute images and I plan to color and create with each and every one.

This image was in a package of images I received years ago in a magazine I ordered. Unfortunately, I can't remember the artist or the magazine they came in. I do remember it was a UK publication.


The image is printed on lightweight cardstock, so I very carefully colored it with my Copic markers. I held my breath the entire time, afraid it was going to bleed, but it worked.


The sentiment, punch and pearls are from Stampin' Up. The flower is from Prima and the leaves were cut with a Sizzix die.


Thanks for stopping by and happy crafting,
Dana Desmon

Saturday, May 19, 2012

One Photo Layout - Baby Girl

Scrapbook layout share today. 

I mixed acrylic paint with water to splatter the background. The flowers and title were cut using my Silhouette and files I purchased from the online store.


The gems are Prima and the brads are from Stampin' Up.


Patterned papers are from Echo Park's Country Drive collection.


Thanks for stopping by and happy crafting,

Dana Desmond

Monday, February 20, 2012

Birthday Gift for My Daughter's Friend

Today is my daughter's friend, Megan's, birthday. She couldn't think of a gift for her, so she asked me to make something. The criteria: blue and green, butterflies, peace signs and lots of sparkle.

I went into my craftroom and found a peace sign stamp from Studio 112 that had butterflies inside of it. How perfect is that! Here's what I came up with.


Using Versamark, I heat embossed the peace sign stamp on a piece of Whisper White cardstock from Stampin' Up. I used a combination of yellow, blue and turquoise Glimmer Mist to color the background. I wanted the peace signs to standout, so I painted them with the darkest blue Glimmer Mist.


I created the peace sign with my Gypsy by using a couple of circles and a rectangle from the Gypsy Wanderings cartridge. I cut that in green glitter paper from DCWV. I cut a shadow out of Island Indigo cardstock from Stampin' Up. I attached this to the background using Dimensionals.

I cut "Megan" out of Tempting Turquoise and Island Indigo cardstock from Stampin' Up. I added glitter to the Tempting Turquoise using Heat and Stick embossing powder from Stampin' Up. I attached this using a double layer of Dimensionals. The butterflies were cut from the Straight From the Nest Cricut cartridge.


I added the pearl swirls from Prima and put it in a shadow box frame Hobby Lobby. I think Megan will really like it.

Thanks for stopping by and happy crafting,

Dana Desmond

Thursday, January 20, 2011

Cowboy Code of the West

One of my friends at work asked if I would make a shadow box as a gift for another coworker as a thank you for being such a good mentor. Our friend is really into the western culture and tries her best to live by the Cowboy Code. So what better theme for the shadow box. I was very lucky to find this 5 x 7 shadow box frame  at Hobby Lobby. It looks like old weather wood. I didn't have to do anything to it. It's perfect for this project. 


I printed the poem off of the web on a piece of  4 x 6 cardstock, to which I inked the edges using Crumb Cake ink. I backed the poem cardstock with 4 1/4 x 6 1/4 piece of Chocolate Chip cardstock. I attached the poem to a 5 x 7 piece of DCWV patterned paper.


I used a piece of natural jute to mimic rope and I looped it around the poem, curling it to resemble a loose rope. I layered Prima flowers using brads to attach them together. I added these along the jute using a hot glue gun. I finally I added the boot charms using mini glue dots.

I planned to take a picture of this project without the glass, but due to the way the box was made it wouldn't allow it. Hopefully, there isn't too much of a glare.


I'm hoping to have a project up tomorrow morning, but this is the only project I was able to work on today. I plan to do some valentine's cards for my coworkers tomorrow. If everything goes OK, I'll post them.

Thanks for stopping by,
Dana D.

Sunday, January 16, 2011

Stamp TV Sketch Challenge

Each week on Gina K. Design's Stamp TV website, Gina presents two challenges to crafters. The winner of the challenges wins a stamp set of their choice. The two types of challenges are sketch challenge and color challenge. To see this weeks sketch, visit http://stamptv.ning.com/forum/topics/sketch-spotlight-challenge-6.

I started this card using the Sushi Bowl stamp set from Stampenous. This is a very fun a versatile clear stamp set. Each of the elements are separate and the fish bowl can be manipulated to form any shape. I arranged as many pieces of the design on one acrylic block and stamped the image using Momento Tuxedo black ink. Then I filled in the remainder of the design by stamping each image individually.

I used my Copic Sketch Markers to color the image and I cut it out using my CutterBee detail scissors. I use the Nestabilities Label 8 and my Cuttlebug to cut and emboss the orange and white background pieces. To make the white border, I cut the embossed edge off of the orange label and it fit perfectly.


I layered this onto a piece of blue cardstock that I had embossed in my Cuttlebug using the Spots and Dots folder. I layered the orange and white tag onto the blue card stock. Then I layered all of this on a 51/4 x 5 1/4 piece of pattered paper from Stampin' Up. This entire piece was then added to a 5 1/2 x 5 1/2 card base.


Using my Tags Nestabilities die, I cut a tag out of white card stock. I I then cut a strip of coordinating patterned paper at 5 1/2 x 3/4 and threaded it though the tag. I stamped the greeting using Fiskar's Cupcakes and More stamp set. I attached my greeting to the bottom of the card. Then I popped up my image on the orange cardstock.


I used several Prima flowers attached together with a pearl brad from The Paper Studio. I adhered this to the front of my card using glue dots. For the final touch, I added pearls to the orange label.

This is my first Gina K. Designs challenge entry. What it tells me is that I desperately need more stamps. I have a small collection, but nowhere near enough images I can color with my Copic Sketch Markers. As much as I love my Cricut, sometimes it's fun to just stamp your image and elements.


If you visit my blog, please leave comments. I love to read what others think of my work. I highly encourage constructive criticism, afterall, that's the only way I will get better at what I do.

Again, thank you for taking the time to visit DanasImaginationCreations,
Dana Desmond